Hi, and Happy Wednesday! Today I would like to start a three part series on my new album. I have actually been working on this for a long long time. I started designing it, then didn't like it, put it away, drug it back out, redesigned it, and here it is. I sure hope you like it.
Today I'll share my pictures and notes on how I made it. Saturday the post will show you my finished product. Then next Wednesday I will show you some awesome goodies I made with the leftovers.
This is another long post, so sit back and relax. Have fun, and please let me know what you think!
I used several of these folders, 4 to be exact. They are put together so that you can have pockets. That in and of itself is a cool way to start an album, but I, of course, had to take it to the extreme.
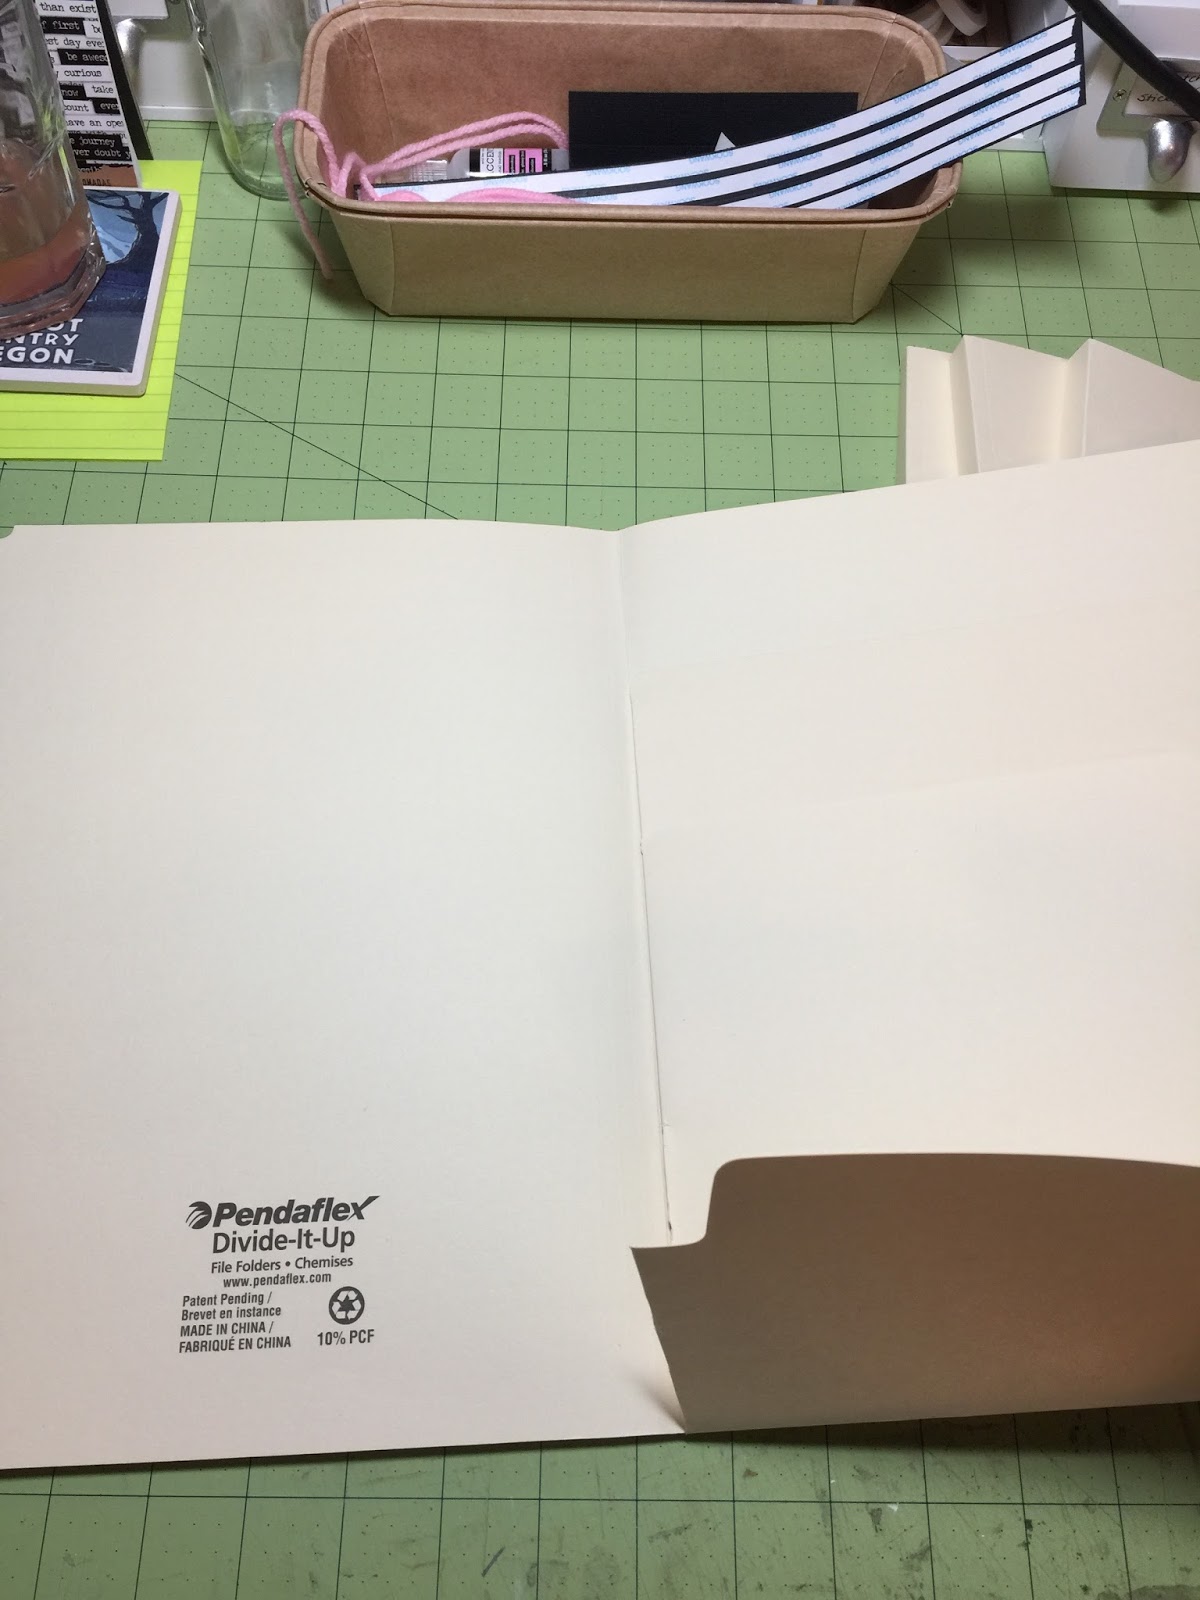
This is the first folder. I detached the inside divider...
...like so, then flipped the whole thing over...
...like so...
...then flipped the dividers up. They are now on the outside of the back of the file folder. This now becomes the inside of the first folder. These dividers were on the right side of the folder, now they are on the left. They are a little wonky, but it is explained on the next picture. On the new right side of the folder, I measured 5 1/4" from the 1/2" gusset (explained below) and used that piece to attach to folder #2, creating a side pocket and adhering the folders together. I'm sorry, I didn't get a picture of that, but Saturdays post will show all pages.
I had to do some twisting of the dividers to make them in the proper configuration.
But then this was the finished product. I should mention that I used the existing scores down the center of the folders to create 1/2" gussets. These are what attached the folders to the spine of my album.
This just shows the gusset of the album. I chose 1/2" but you could do it thinner if you wanted.
I didn't do a picture of the second folder. Please forgive me. The cut right side of the first folder attaches to the front of the 2nd folder, creating a long side pocket. I left the rest of the folder as is, creating the gusset (as I did on all folders.) The pockets I left, creating pockets for my album.
Folder #3...I cut off the left side at 5 1/4" from the 1/2" gusset, this attaches to the back of folder #2 to create a long pocket. I used the extra folder pieces for hinges. I detached the inner flaps of this folder. See below.
Everything detached from folder #3. I rearranged the flaps to create pages and a pocket.
I decided to use the two top flaps (after reconfiguring) to create pages. The smallest pocket was reattached to create a pocket on the right side of the page.
This will be shown in Saturdays post how I made the pages. It was super simple, I just added patterned paper to the page, going all the way down to the bottom of the album. The folder acted as a hinge to create the page.
This is folder #4. I cut off the left side 6" up from the bottom, taking top of the left side off. This is what attaches to the back of folder #3. On the right side, I cut side of the little pocket and flipped it over to the back of the folder creating a pocket on the back of the folder. I left the 2 flaps on the inside right.
This shows the pocket flipped to the back of the last folder.
After seeing how wide it would be and measuring I just made the cover to fit. This turned out 3" wide, giving a 1/2" gusset for all pages in front and in back.
Stay tuned for next week...My finished product!
💖Michelle


I really like it the most. You have really done great job by sharing the beautiful post. Thanks lot for the informative post. Learn more about Custom File Folders
ReplyDelete